
First, I created the cube in Maya, and then brought in the image plane on the side orthographic view, then exported as an fbx for Zbrush.
 Next, I brought in the cube into Zbrush, and fit mesh into the box.
 Next, I went back into Maya and used the Create Polygon tool to create the blade portion of the knife, adding lines to hold the figure. Then extruded, and closed bottom portion to join to center. Then used the crease tool to sharpen the look around the edges. Lastly, I exported as an fbx.
 Next, I brought the proxy blade as a tool into Zbrush, and flipped the image plane to match the Maya fbx.
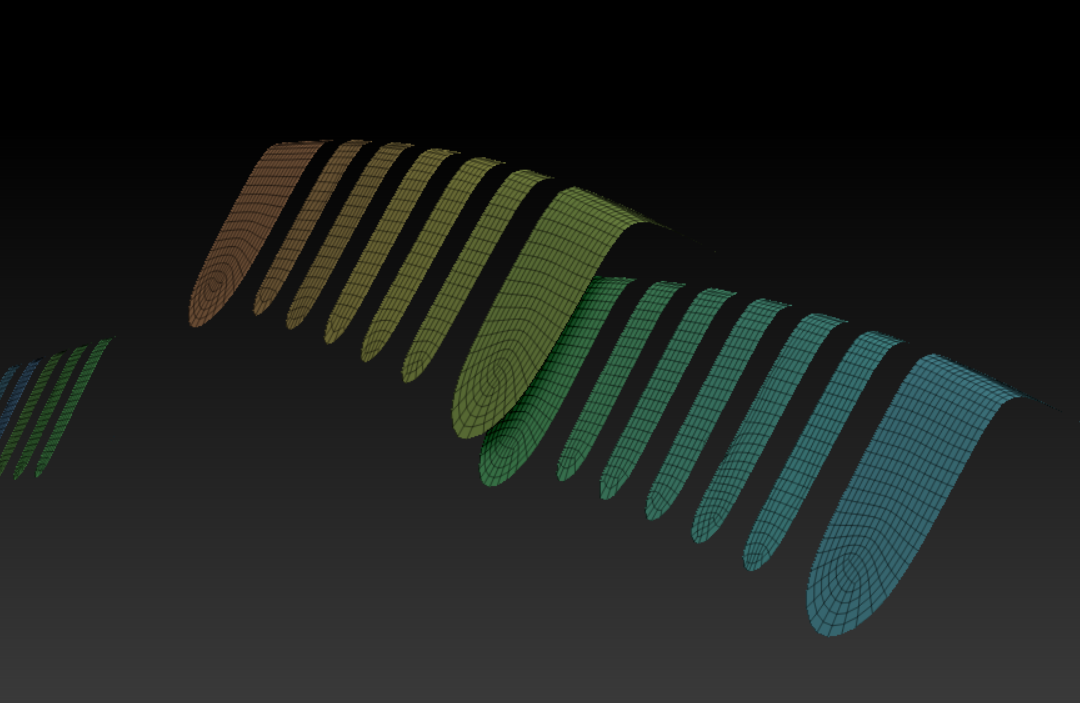
Next, I went back into Maya and added polys with the multi-cut tool for the blade. Then converted the blade mesh into poly's and added a blinn to accent the edges.


After exporting the grouped fbx (with combined portions) into Zbrush, applied the Live Boolean master and highlighted the negative portions. Once

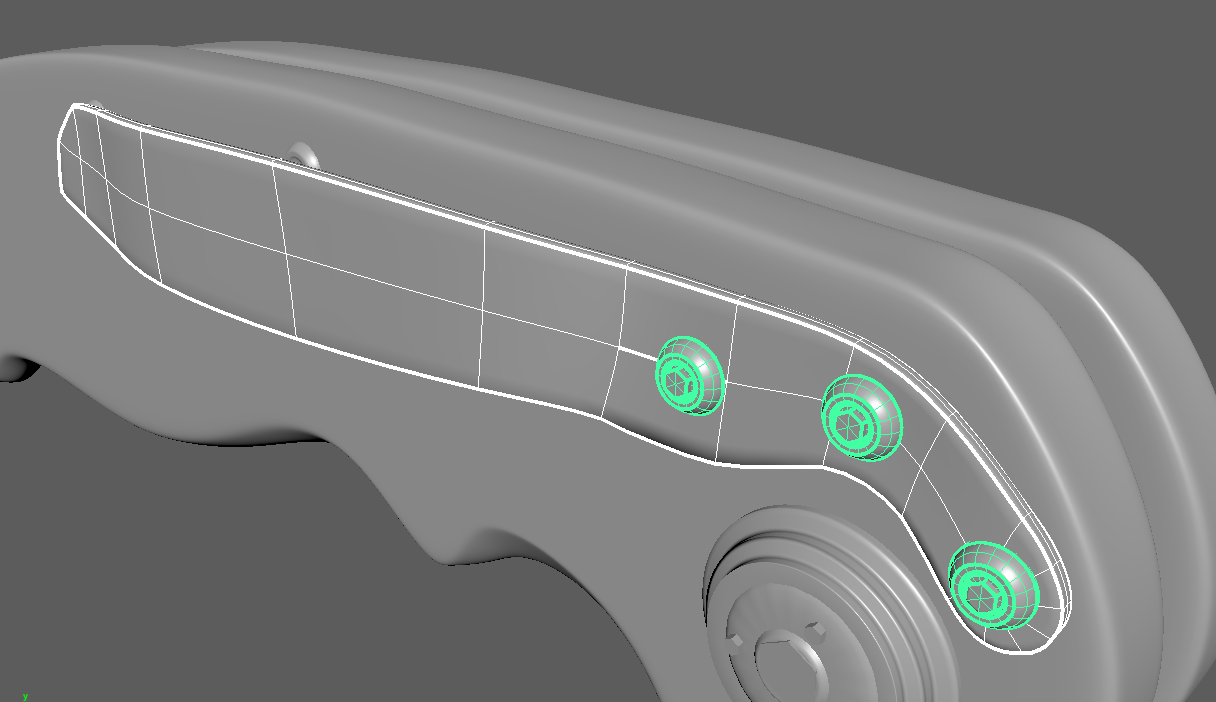
Then, I started creating the handle proxy on the side orthographic view. Once it was creased on the outer edges, then I started on the other components. Then coverted the group into poly's.


Once I brought the fbx handle into Zbrush, I had to separate the long and short cyclinder tubes and use the Zremesher, then Zmodeler to control/shift to separate the portions. Then used the negative icons on the Subtool layers to negate the parts that are empty.

Once I was the handle was done, I appended the blade that had been "Live Booleaned" and Dynameshed to this group of Subtools...and this is my final piece. I definitely learned a lot and appreciate all of the details that it takes to make one of these.


No comments:
Post a Comment